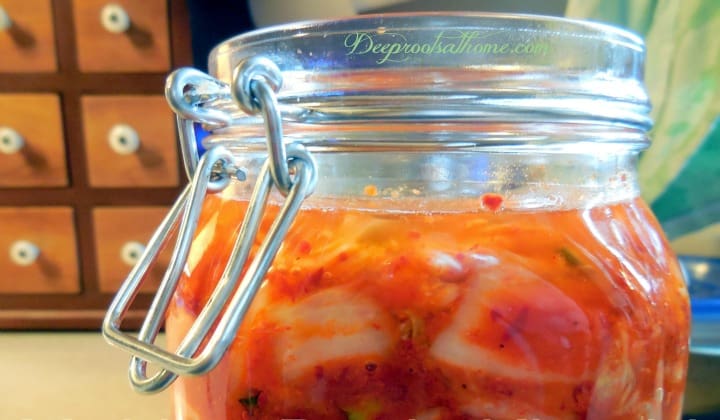
There is a short story behind our love of kimchi.
Last year, our youngest son was awarded a 16-day trip to South Korea for working his way to the top national level in Civil Air Patrol, an auxiliary branch of the US Air Force. He went with a long-standing sinus infection, but he came back almost totally well and full of all the stories of eating and loving the different kimchees he was served twice a day while there. The amount served with each meal was rather small (~2 heaping TBSP), but now we can achieve the same wellness here at home by duplicating those regular small amounts of kimchi.
We (my son and I) just made another basic kimchi (kim-chee), and it turned out smashing!
Basic kimchi is a traditional Korean dish of fermented vegetables; the most commonly used are nappa cabbage and daikon radish. It is usually served as banchan, assorted Korean side dishes presented as part of a meal, but it is versatile and can be used in everyday cooking. It is amazing all by itself, as a topper on roast beef sandwiches (a bit like sauerkraut on a Reuben), or with a summer presentation of fresh avocado and tomatoes.
Whether you suffer from IBS (irritable bowel syndrome) or IBD (inflammatory bowel disease) such as Crohn’s disease or ulcerative colitis – or just want to increase your overall immunity and knock out a sinus infection- you know one of the best ways to keep a healthy gut flora is by following a diet rich in properly fermented foods.
It takes 5 elements to ferment foods. You will see these 5 important elements at play in the process of making Kimchi:
~Moisture ~Salty ~Dark ~Oxygen-free ~Room Temperature
Preparation
1.) Start your kimchi about a week before you plan to use it.
2.) You will need a container and lid.
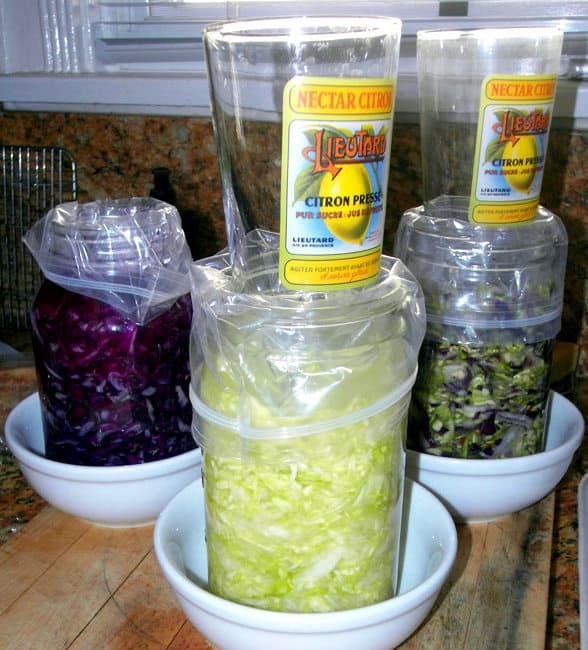
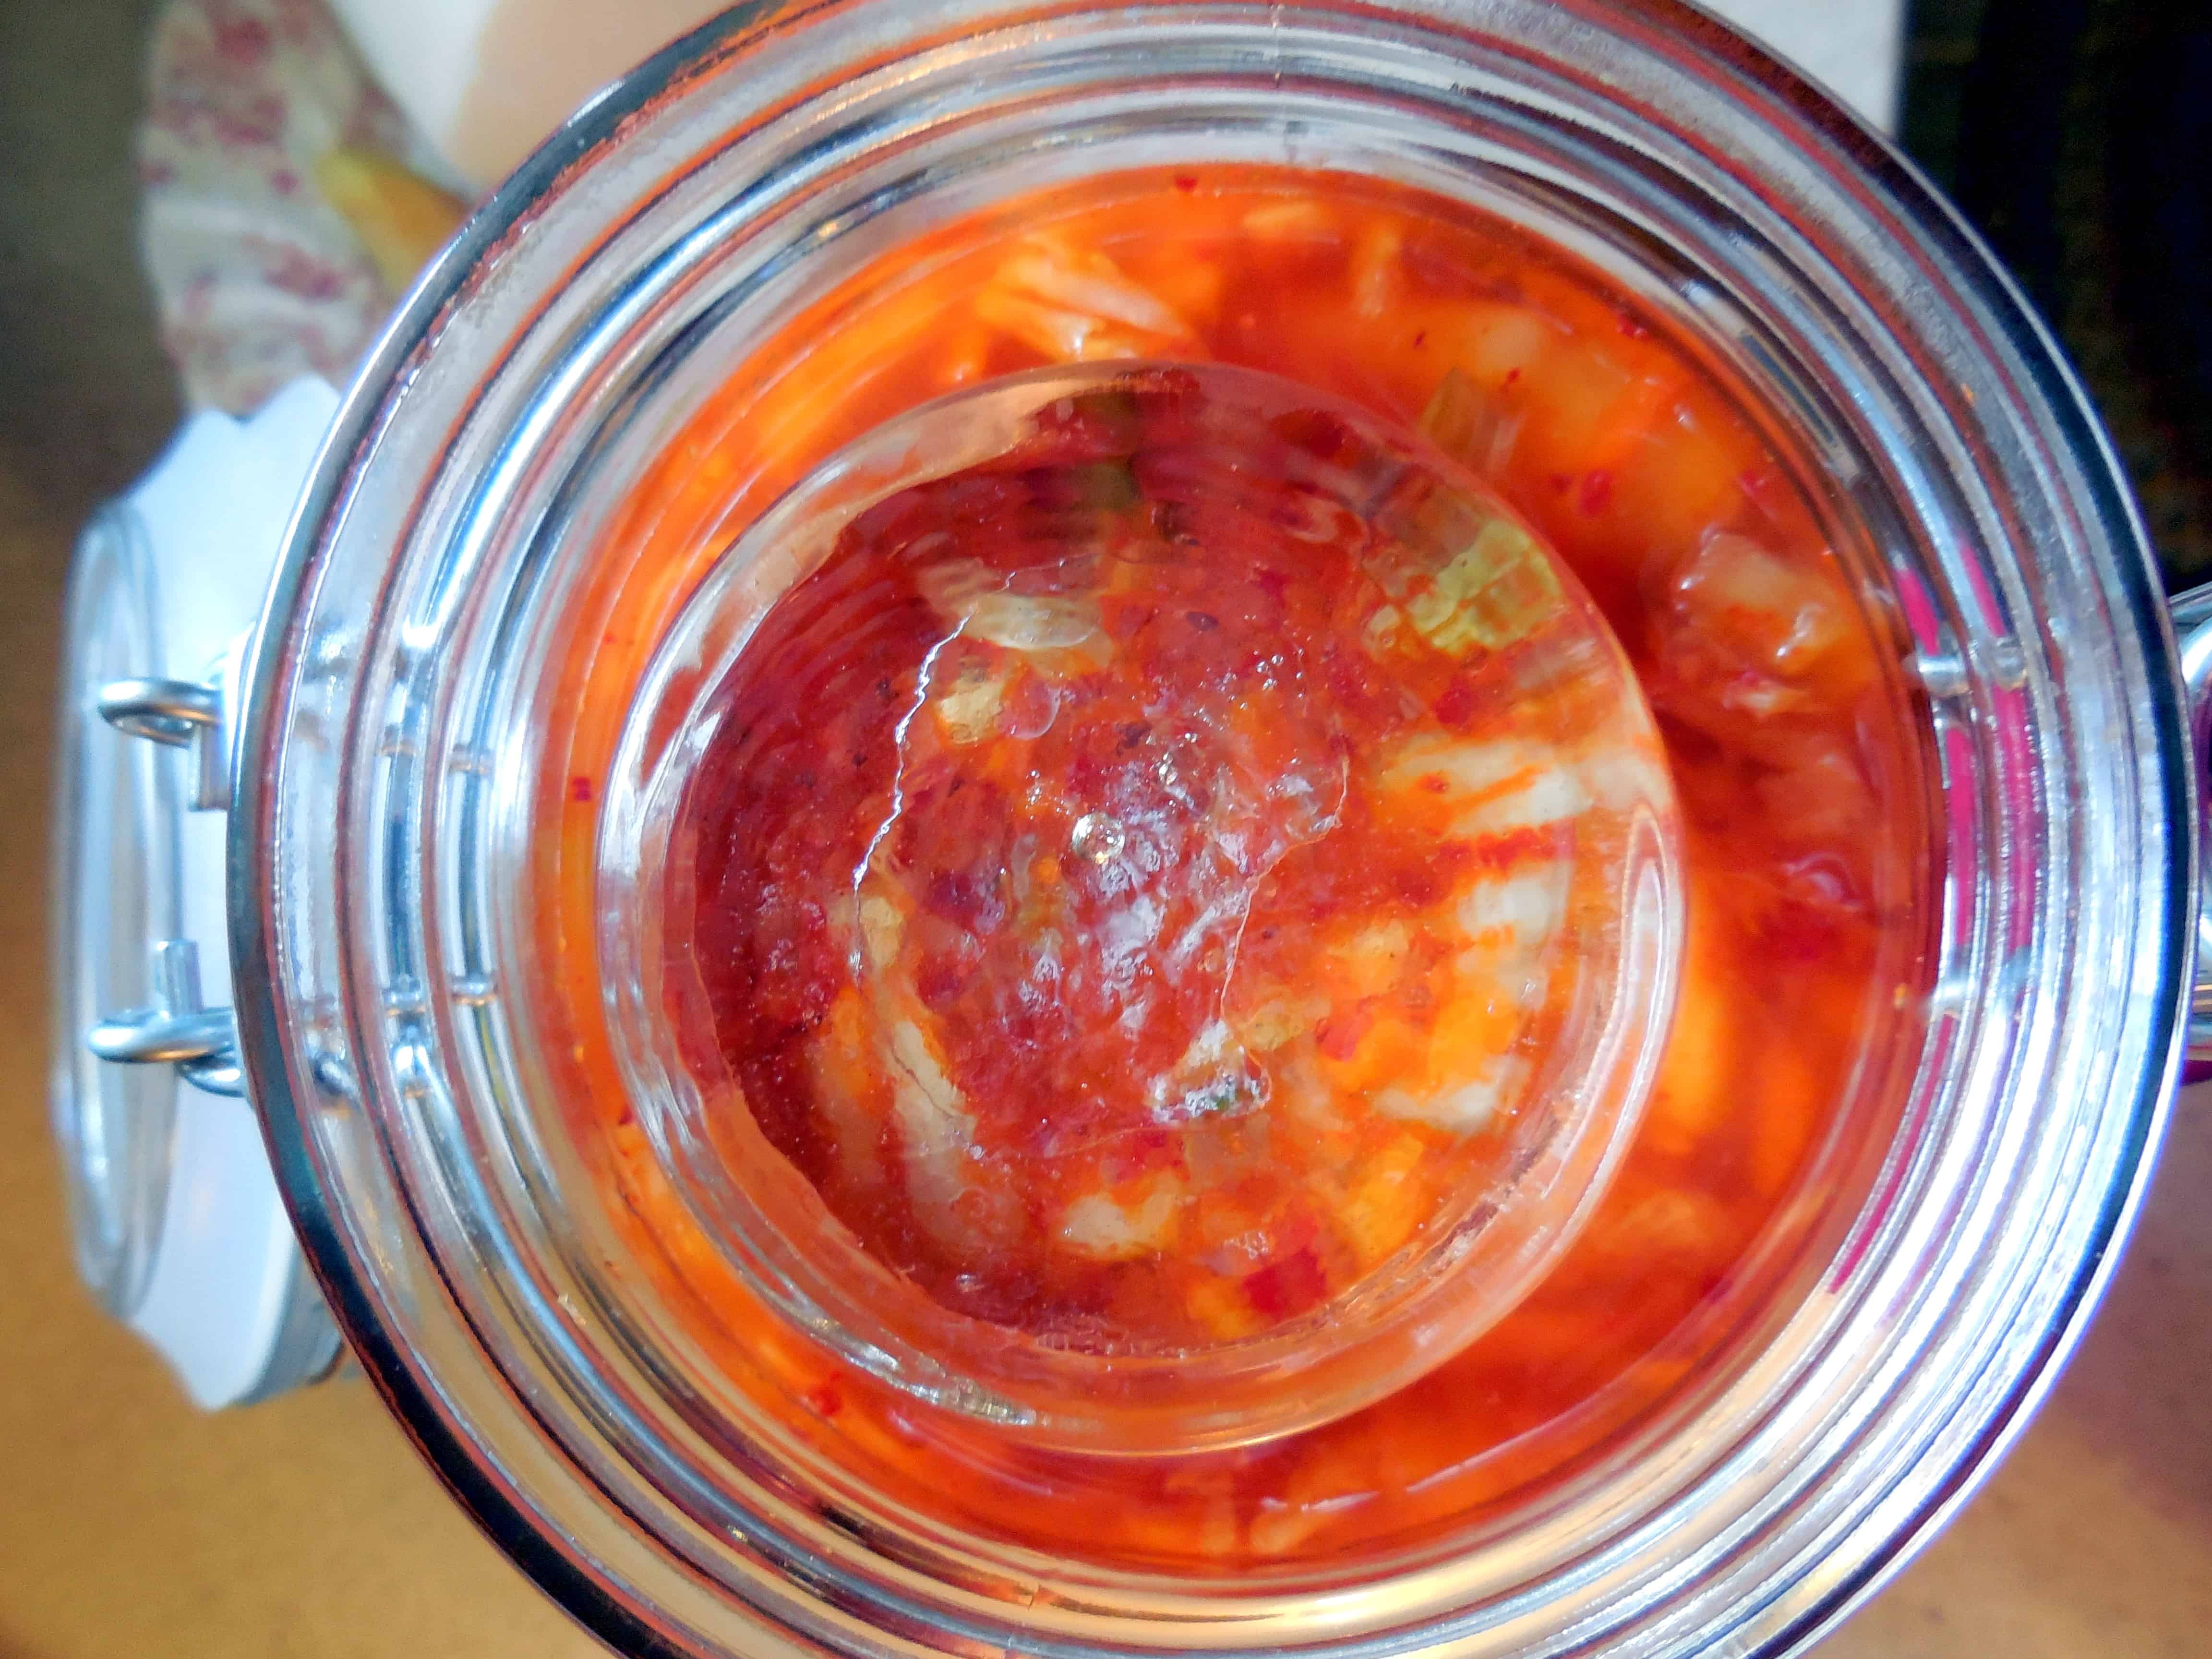
3.) You will need a weight (or extra narrow glass jar) to hold the cabbage under the level of the liquid. This glass weight is excellent!
4.) And you may need a food processor for some shredding, but my son always chops the crisp nappa by hand. Even for me, it is so quick and easy to do and somehow chopping with that big knife makes me feel like a chef!
Basic Kimchi Ingredients:
• 2 large nappa cabbages, any outer tattered leaves removed, rinsed well
• 1/2 – 3/4 cup sea salt – this one or this one (enough to contact the surface of all the leaves)
• 10 – 12 cups cold water, plus more as needed to cover salted nappa
• 1 – 2 cups daikon radish, peeled and shredded
• 4 – 8 medium scallions or green onions, ends trimmed, cut into 1-inch pieces (use all parts)
• 2-3 carrots, shredded
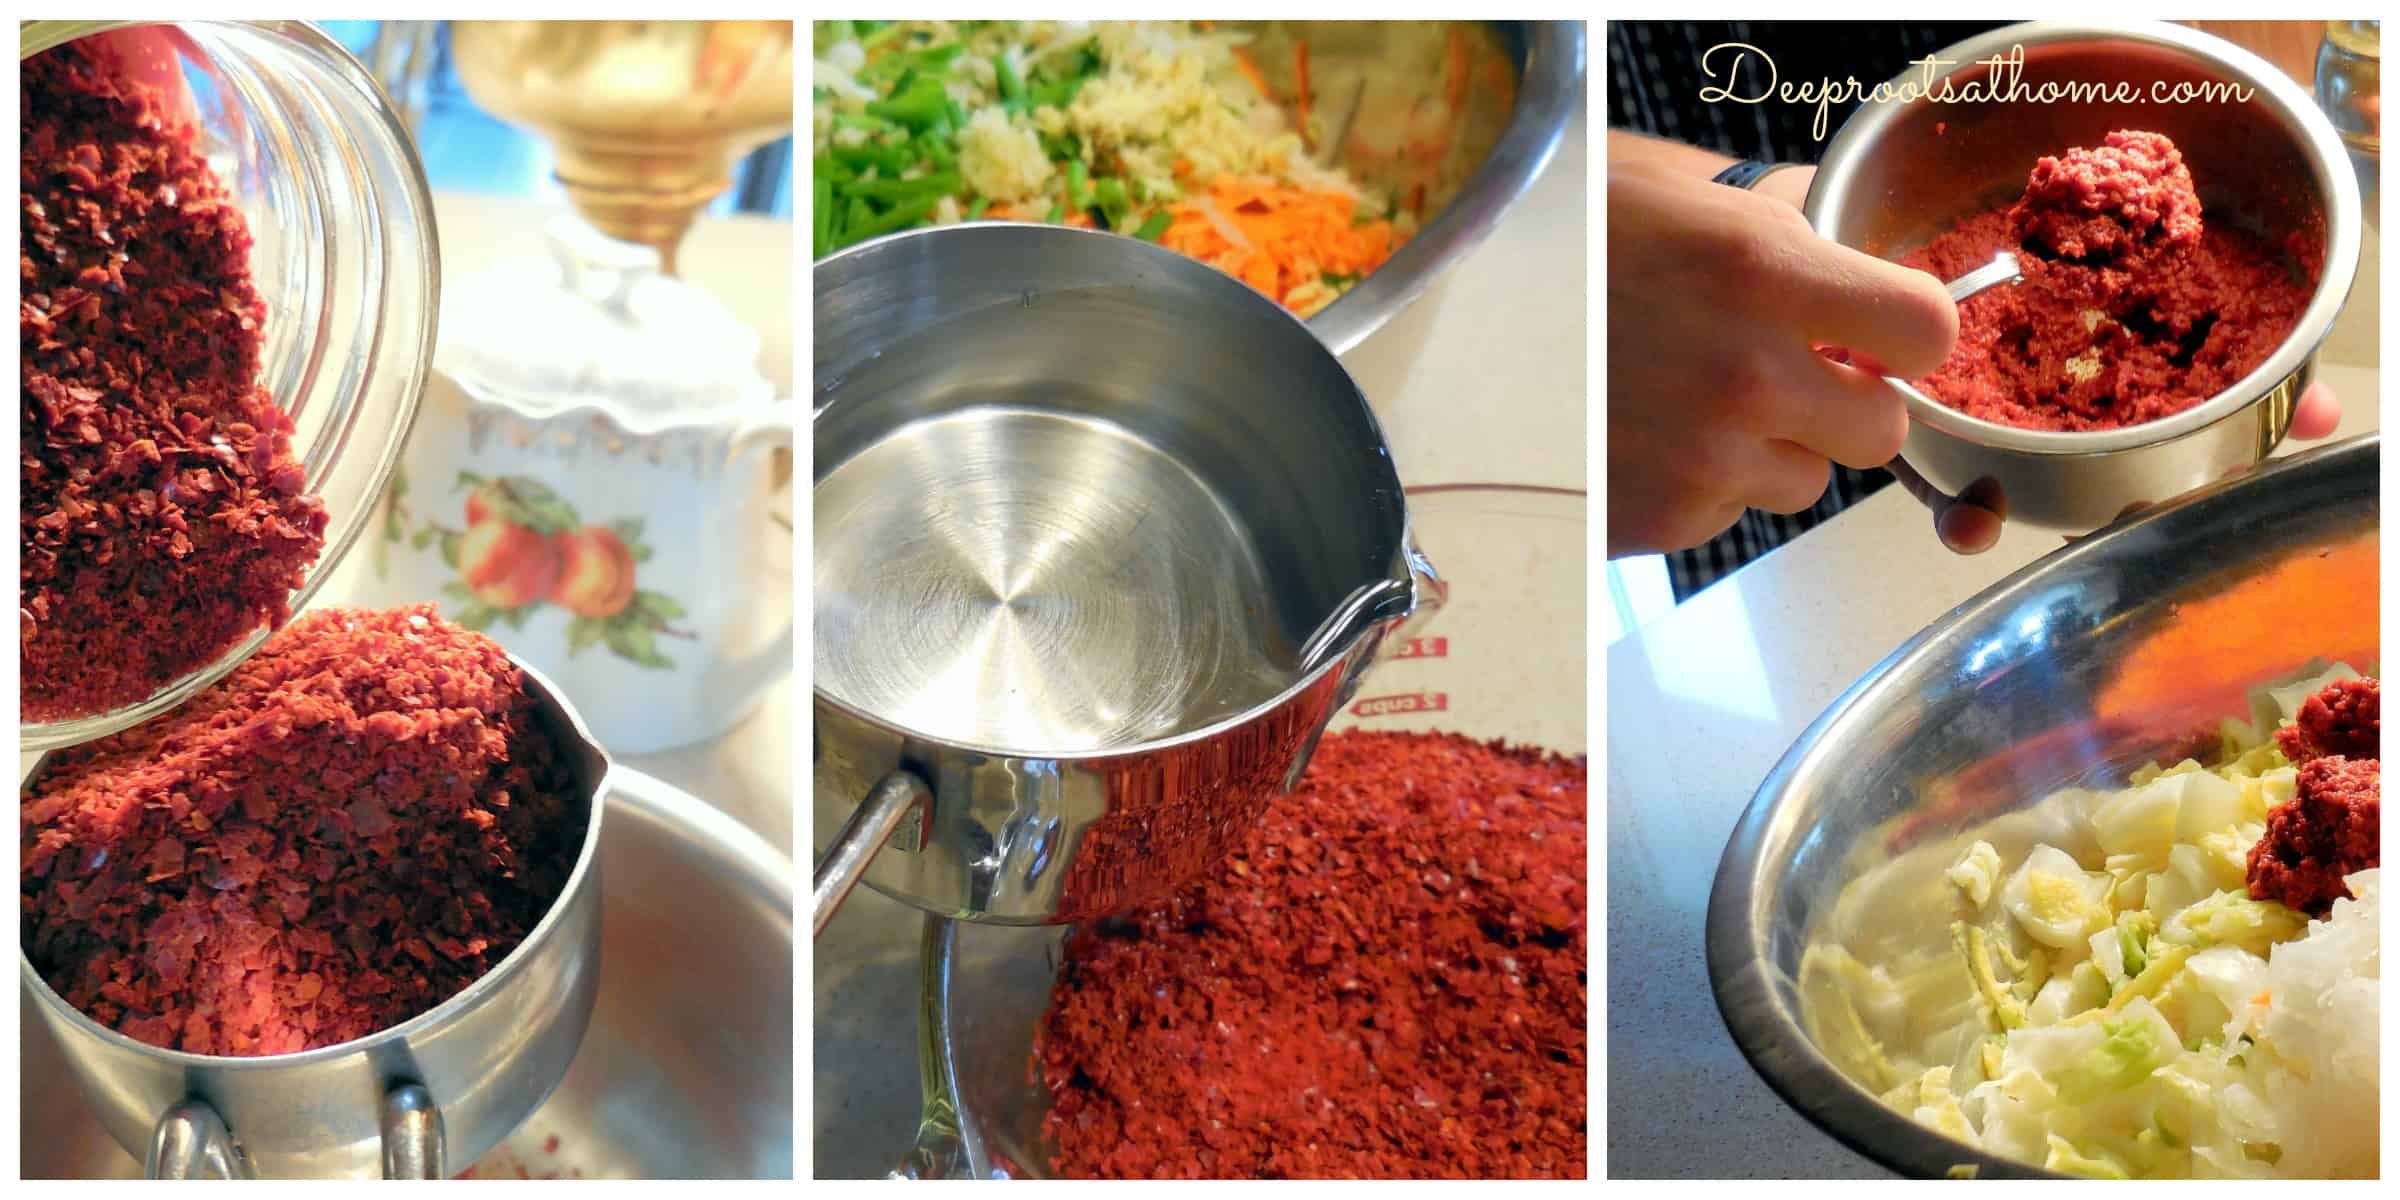
• 1 cup Korean red pepper powder and 1/2 cup water to make a thick red ‘paste’
• 1/4 cup fish sauce, optional
• 1/4 cup peeled and minced fresh ginger (from about a 6-8″ piece)
• 1 Tablespoon minced garlic cloves (from 4 to 6 medium cloves)
• 1 1/2 teaspoons granulated sugar (traditionally added and optional)
Cook’s note: these measurements don’t need to be exact, so relax. Also, we have not ever noticed a garlic breath smell when we use garlic in this way. Maybe it is the fermenting.
Instructions:
1. Cut the nappa cabbages in half lengthwise, then crosswise into 2-inch pieces, discarding the last 1/2″ of the root end.
2. Place in a large bowl(s), sprinkle with the salt, and toss with your hands thoroughly until the cabbage is coated. Add enough cold water to cover. (Salty)
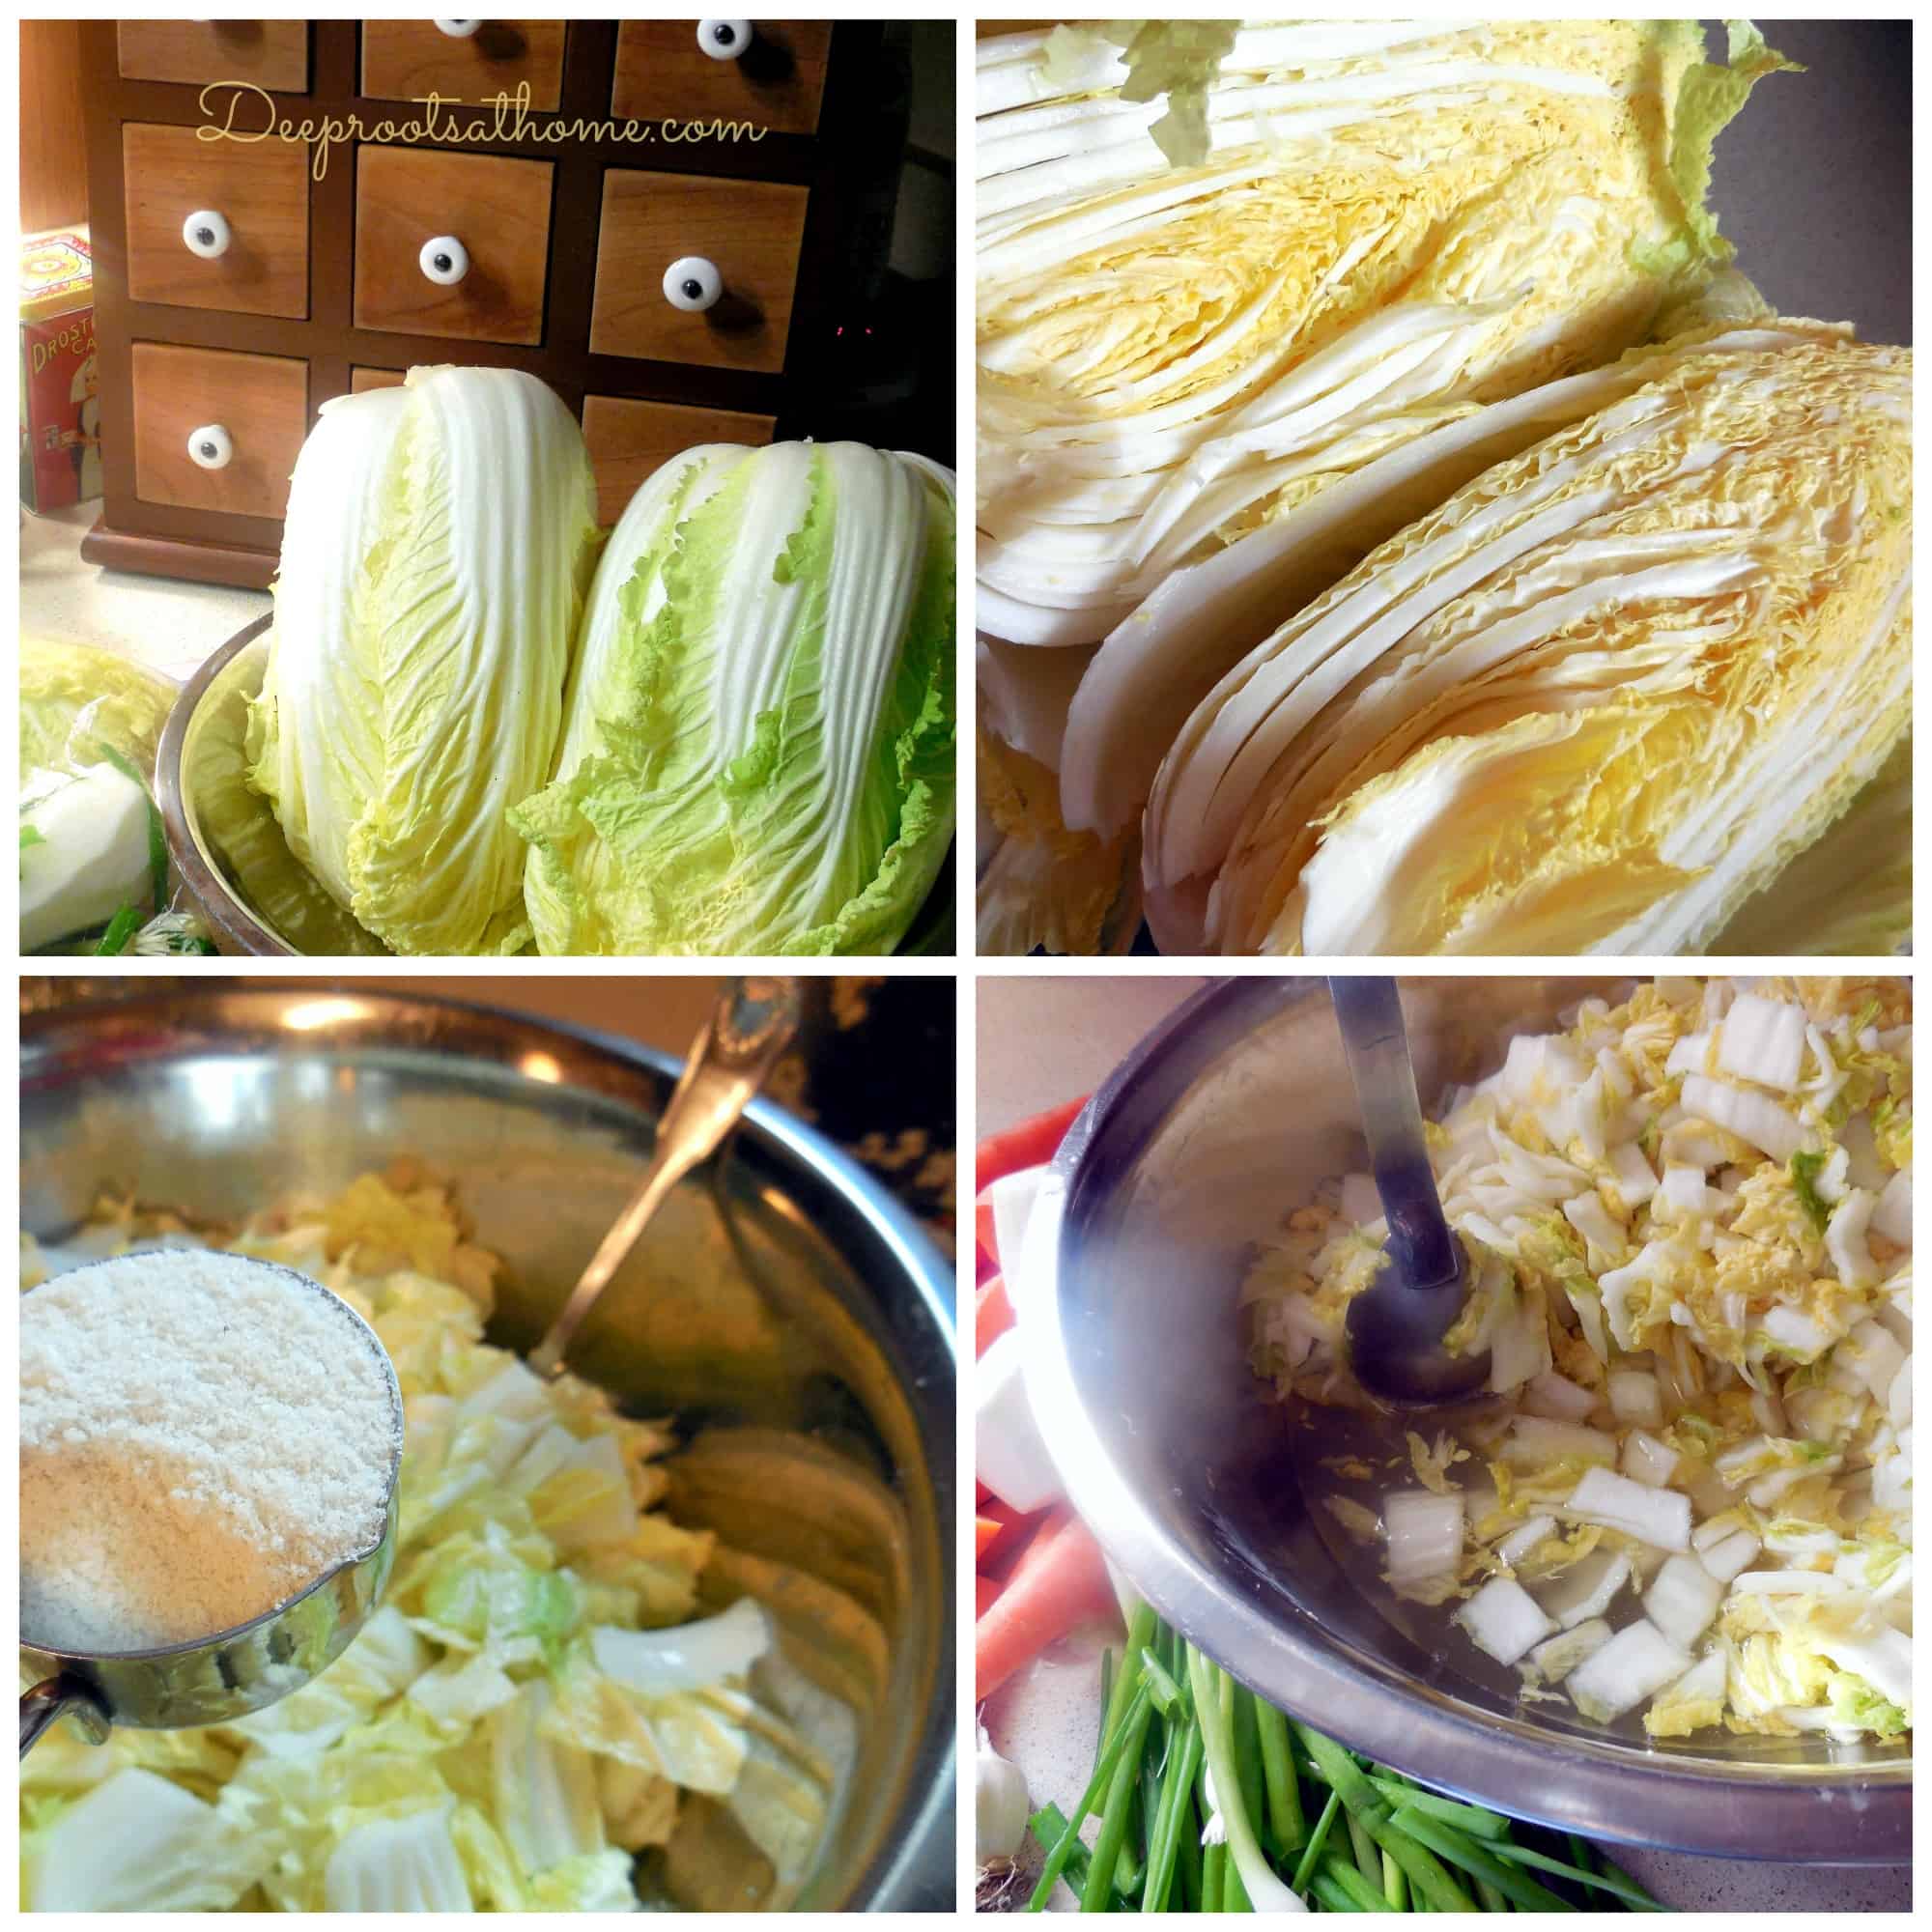
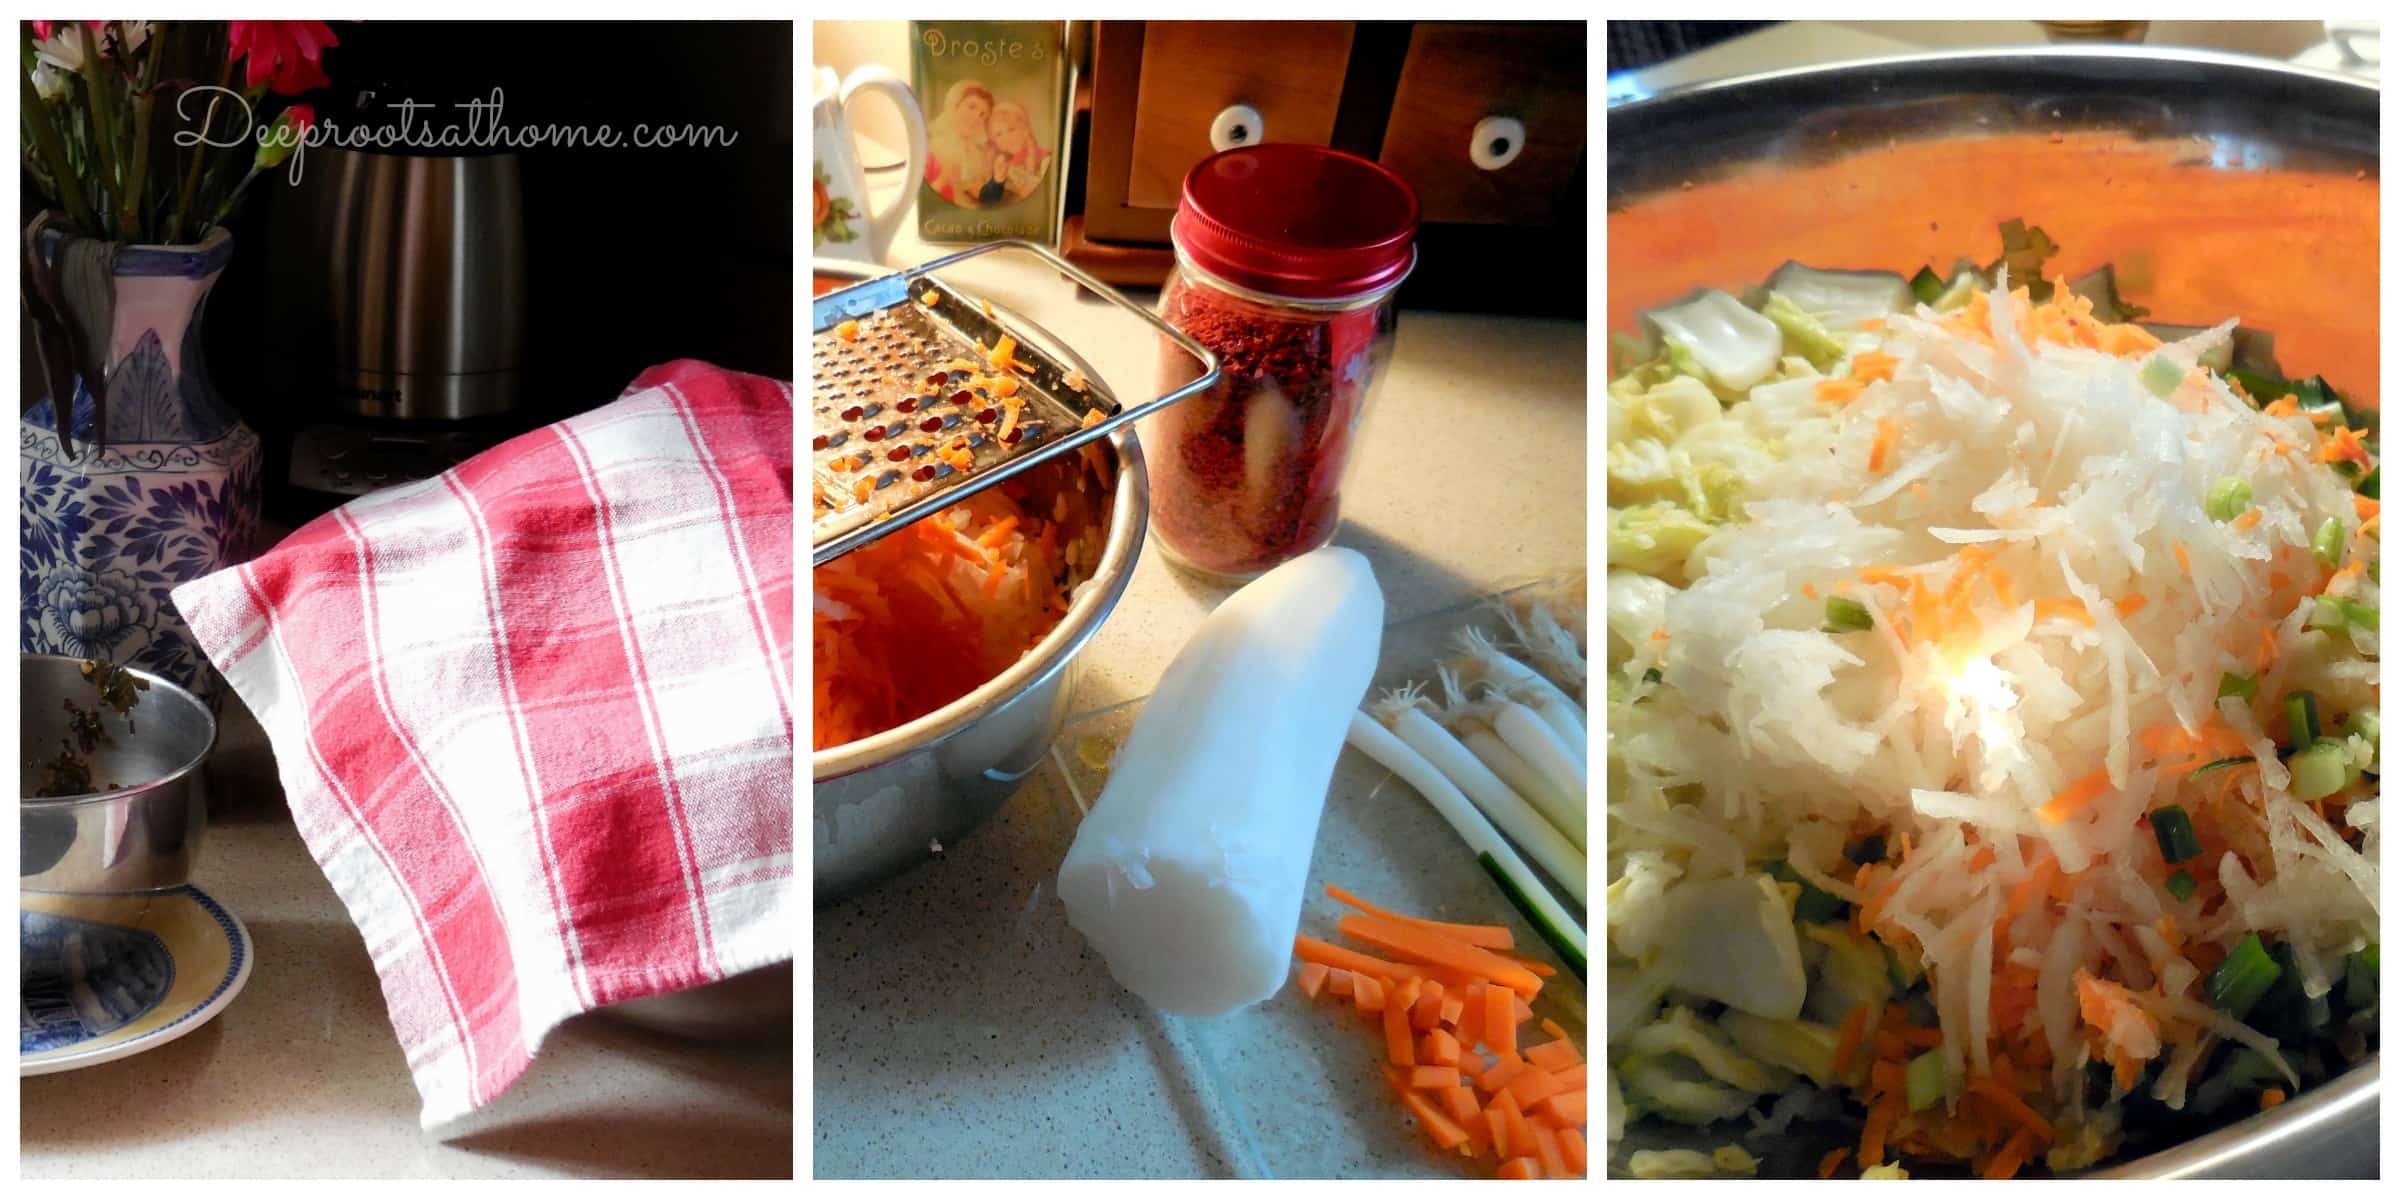
Cover the bowl with plastic wrap or another inverted bowl out of the sunlight and let sit at room temperature at least 12 hours and up to 24 hours. This will wilt and shrink down the nappa and begin the fermenting process in this recipe. It will not go bad during this time because of the salt. (salty and room temperature)
At the end of the wilting time, rinse and drain the nappa with cold water several times to remove the excess salt. Even though you rinse the greater part of the salt off, this creates a salty environment. Drain out the excess liquid and leave cabbage in the same large bowl; set aside.
Add the remaining shredded ingredients into the large bowl with the nappa cabbage.
You can add the red pepper ‘paste’ (see ingredient list) at this time or separately, but work the whole mass with gloved hands until it is all thoroughly incorporated and blended.
Pack the mixture tightly into your clean container. There are many types of jars and containers one can use to ferment, but I used a Bormioli Rocco Fido wide mouth jar (there are many sizes), place the glass weight on top of the kimchi to weight it down under the juices (moisture and oxygen-free).
You can even make an arrangement similar to this:
The juices will usually rise a bit, so don’t fill the jar too full. Leave at least 1″ of head space for expansion.
Note: Some like to have an airlock. The Ferment ‘N Joy lids gets a consistent 5-star rating (not pictured)!
Wipe the rim so there are no bits of food to prevent a good seal.
Let sit in a dark place at room temperature for 24 hours (darkness and more room temperature). The mixture should begin to bubble, but the kimchi should stay under the level of the liquid (continuing the oxygen-free environment). I recommend not opening the container you use or you will introduce bacteria and mold into that environment.
At the end of 24 hours, refrigerate. Wait at least 48 hours in the fridge before eating (most feel kimchi is best after fermenting about 1 week).
Even my meat-and-potatoes-loving husband appreciates this basic kimchi. Refrigerate for up to 45 days.
So whether you want to see if probiotic kimchi will kick a sinus infection like it has done for my son or just get on a better path to health, enjoy!
***For the Full Spike Protein Protocol to protect from transmission from the “V” and to help those who took the “V”, go here.

Deep Roots At Home now has a PODCAST! We are covering everything from vaccines, parenting topics, alternative medicine. Head over today and like, share and download a few episodes!
I’d love to stay connected with you, and here is one way…
Censorship is real. My Pinterest account was suspended; but surprisingly part of my main board is still available through this link, and it scrolls down a long way!
You can also find me on Facebook, Gab, MeWe, X (Twitter), Instagram, and look for me on IG Stories.
And please join me for my FREE newsletter. Click here.
©2025 Deep Roots at Home • All Rights Reserved









Related