
Homemade basic sauerkraut used to be a staple in every home.
Basic sauerkraut is the gateway of fermented foods. It’s straightforward and simple, the ingredients are inexpensive, and the reward is fairly quick.
It is wonderfully sour, slightly crunchy, and fantastic loaded onto a big sandwich for a burst of flavor or eating right out of the jar as a daily probiotic. (Basic sauerkraut is the stuff of warm Reuben sandwiches!) We love it so much we sometimes make it in large batches. If you are even slightly adventuresome, you will find it enjoyable, too.
Please do not be intimidated in the least; maybe I can take some of the mystery out of it for you.

Last post, I shared the ins and outs of how fermentation takes place in making a high quality sauerkraut ferment.
Today, I want to show the actual process of making basic sauerkraut from start to finish.
The idea of culturing vegetables first originated as a way to preserve food so it could be stored without the need for refrigeration. In the old days, usually in the fall seasons, Eastern European families prepared for winter by making several barrels of cultured cabbage, enough for the entire family to eat for many months.

Above: Shredded cabbages for ‘choucroute’ the traditional way in the Alsace region of France ~ from a Taste of Alsace by Sue Style. Alsace Lorraine is the home of my father’s ancestors. (source)
“When you make sauerkrauts you are in fact concocting a vessel full of enzymes, lactobacilli and an alkaline reactive food source… a powerhouse of nutrition for your stomach, intestines, organs and entire body.” ~Sandor Katz
What Is Needed To Start
Simply, all you need is:
• cabbage,
• salt, and
• some sort of container to store it while it’s fermenting
• A small kitchen/postal scale would be helpful, too
While this post mainly focuses on fermenting basic sauerkraut in a covered crock, it is applicable to all types of containers.
Basic Sauerkraut Recipe
1.) Remove damaged or wilted outer leaves and core out a bit of the center stalk from the cabbage.
2.) Weigh your trimmed cabbages for a total weight and write it down for accuracy in measuring in the salt later.
3.) Using a food processor or a large knife, shred or chop the cabbage into a large pan(s), either finely or coarsely, according to your preference.

4.) Next, measure out your sea salt and mix well with your cabbage.
Rule of thumb, you will want to use about 3 tablespoons of high quality salt for every 5 lbs of cabbage, no more.

I like to think of this as 2 teaspoons per pound as many of my ferments are smaller than 5 pounds, and it’s easier to figure.

*Optional: stir in 3-4 tsp. of caraway seed if you like it really traditional. It is the flavor that compliments the rye bread in a Reuben sandwich! Caraway alone can stimulate digestion.
Many just learning to ferment add too much salt and inhibit fermentation.
• Too much will stop fermentation
• Too little will not be harmful
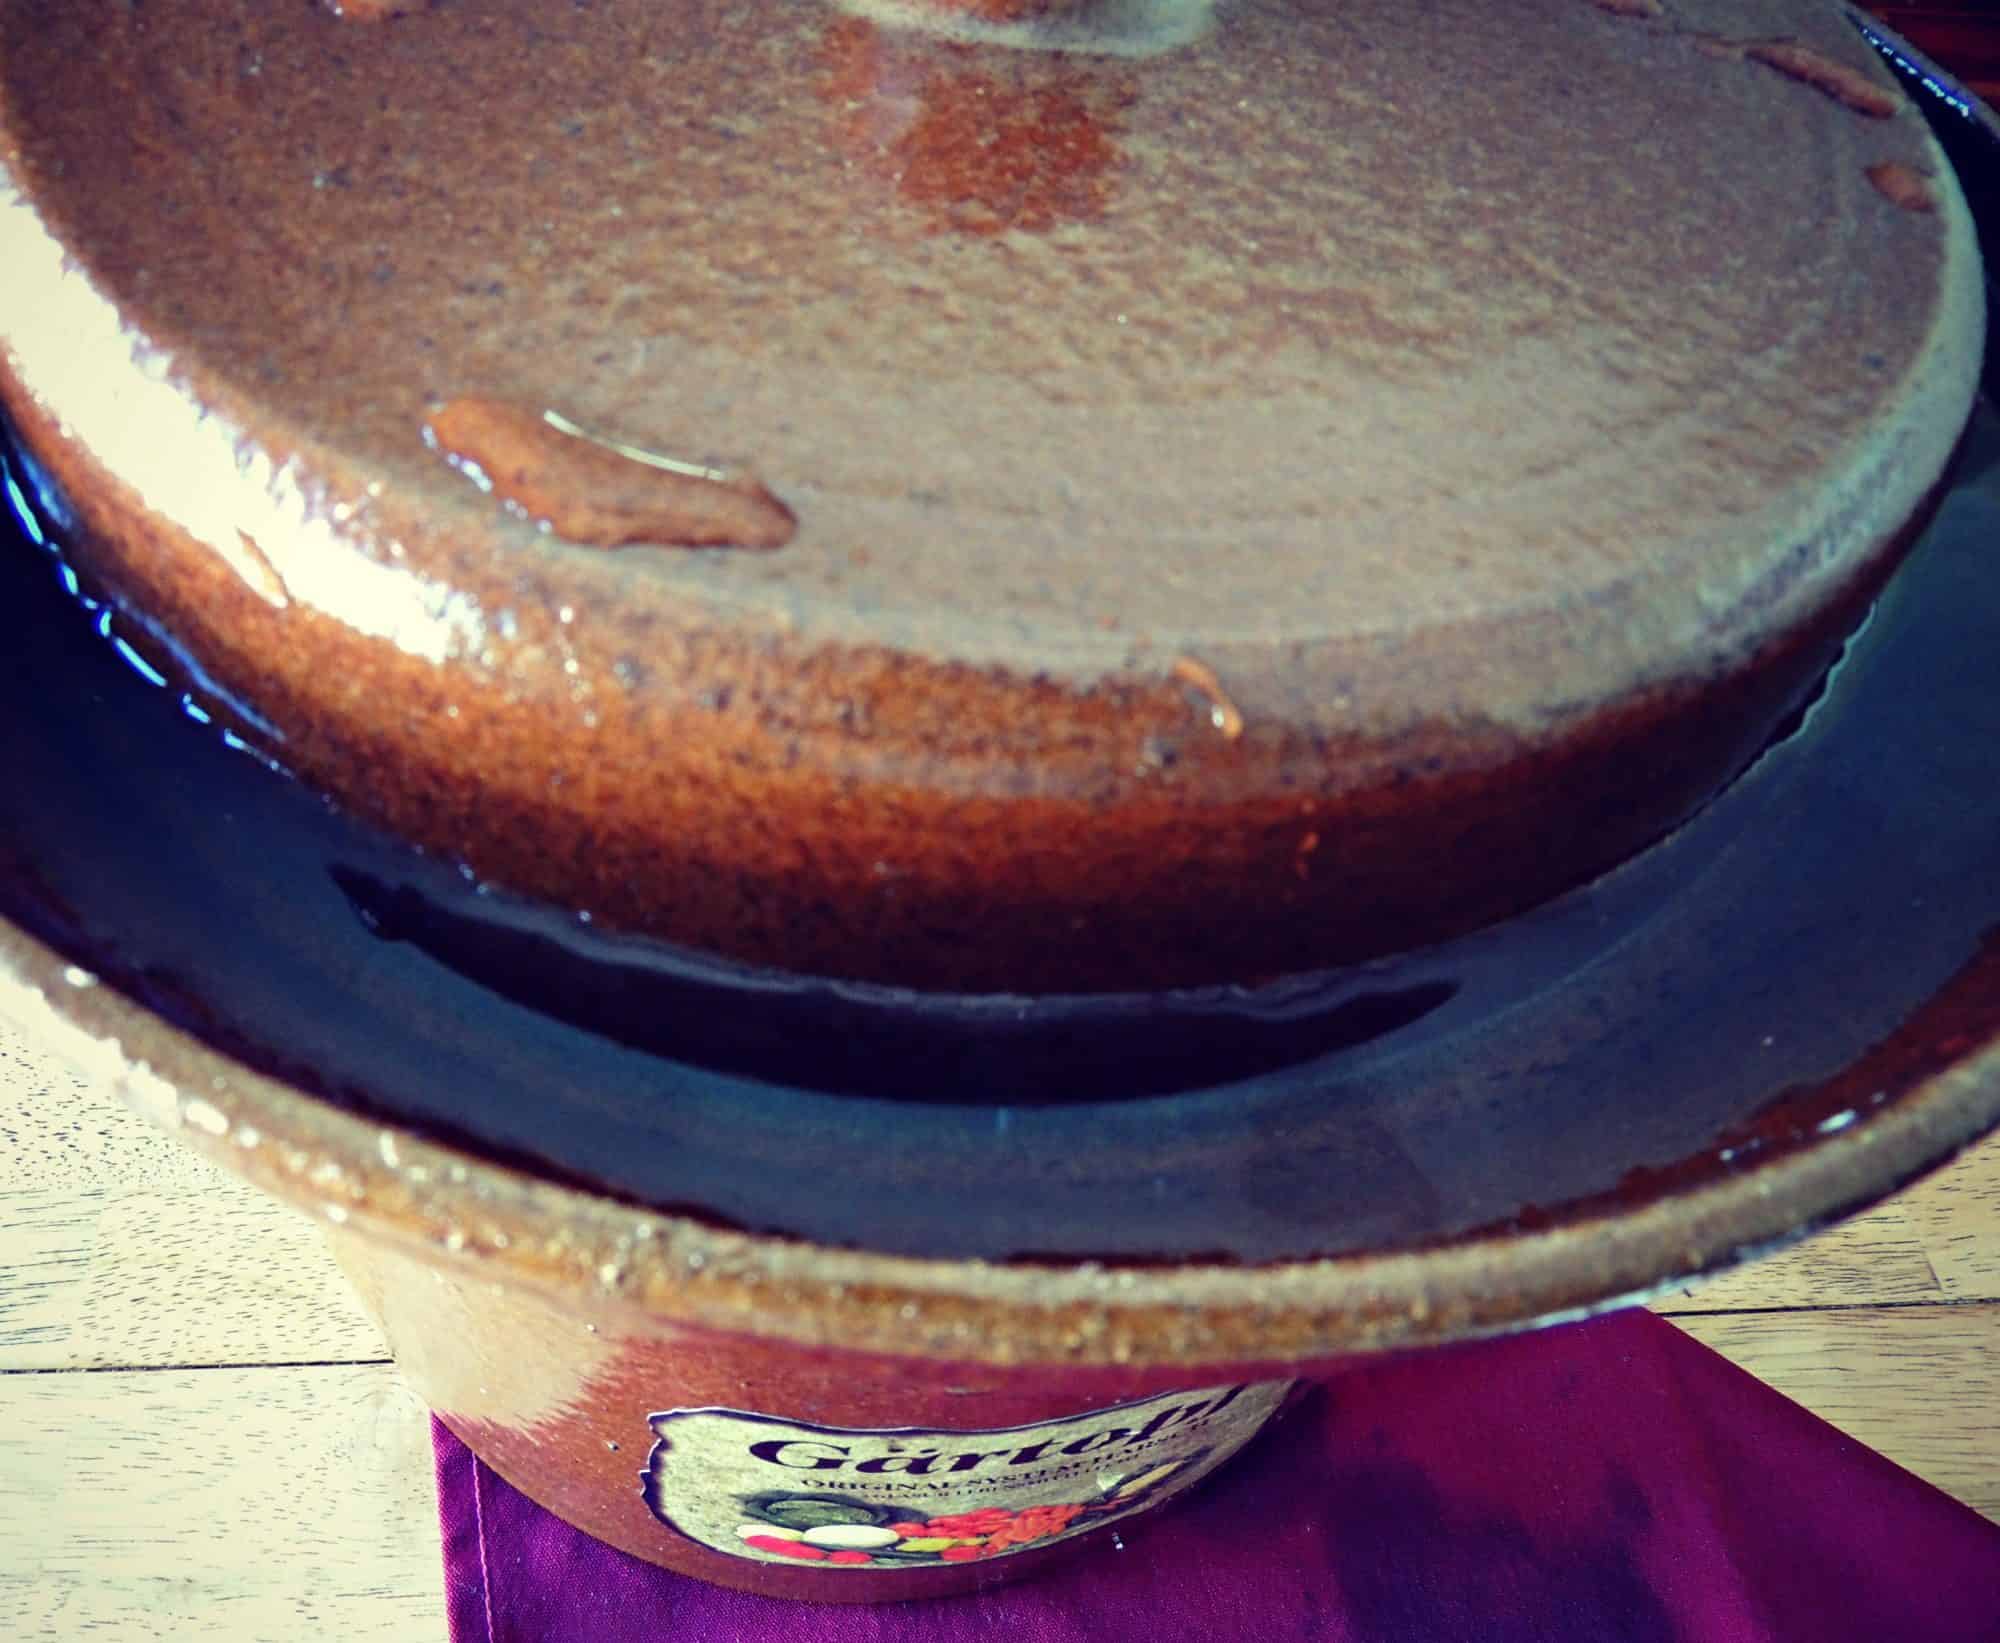
Here I used my big lidded crock. I had just over 10 pounds of cabbage, so I used 6 tablespoons of sea salt. I am partial to both French Grey salt or Himalayan pink salt. Himalayan costs less, but both are very good for you. Himalayan pink salt contains all of the 84 elements found in your body, and is especially beautiful to the eye.

5.) Pack all the salted cabbage into your vessel; simply pack down firmly to remove all air pockets (no need to pound!), and the salt will begin to draw liquid our of the shredded mass. Depending on the age of the cabbage that you are using, it may take some time for the salt to draw out the juice. Don’t fill your container too much more than 4/5 of the way to the top.

6.) Next, submerge the cabbage one of several ways:
• If using a Fermenting crock like mine, place the two weights into the crock, pressing them down slightly so that the juice begins to rise.
• If using an open crock with straight sides, you usually place a weighted plate over the cabbage to pack it down and keep it submerged. As the salt draws the liquid out of the cabbage leaves, the liquid level should rise to cover the plate.
• When fermenting in a wide-mouth canning jar, placing a smaller jelly jar filled with rocks or marbles into the mouth of the larger jar serves the same purpose. The liquid will rise with the displacement, yet hold the cabbage under the brine. You can also make a similar arrangement as you see here. The idea is to keep the cabbage submerged.

*In every case above, if there is not at least 1 inch of the liquid/brine covering the weights, pour some boiled and cooled salt water (make it at a concentration of about 1 tablespoon per 2 cups of water) into the crock so that the stones are submerged.

7.) Place the lid securely onto the crock and fill the surrounding water trough. This creates an incredible airtight seal that allows the lactic acid to work to its maximum capacity without the formation of undesirable film-forming yeast.
For me, the ‘waiting time’ of fermentation requires lots of patience to leave the developing sauerkraut alone and do its thing unseen. When I use the big covered Fermenting crock, I will not open it and break the water seal which keeps dust, molds or other undesirables out.
Some who use other types of vessels will peek at their sauerkraut from time to time and skim off occasional kahm yeast. I have never had kahm yeast with a covered, water-sealed crock.
But a rule of thumb for the highest quality fermentation in bigger batches is 15-20 days. For a smaller quart-sized batch, the minimum time is 3-8 days, though the kraut will continue to ferment and become tastier for many days after that.
• For the first 2-3 days, just leave the crock at room temperature (about 68-72° F). During this time, you may begin to notice a barely audible gurgling or bubbling sound…fermentation is moving right along. If it is more than 75 degrees, it will go soft and mushy.
• Day 4, move the crock into a cool place in your home or heated garage, somewhere that stays between about 64°-68° F. 65º is ideal. Less than 60 degrees, it may not ferment at all. I put ours on the floor near an outside (N) wall in our back hall where it is cool. I keep a little thermometer there.
• Be sure to monitor the level of the water seal as it may evaporate during this time. Take care to add water as needed so that the seal remains intact.
8.) Lastly, just spoon your wonderful finished fermented sauerkraut (aka:: the original probiotic) into clean jars with tight-fitting lids. Pack them tightly so the juices rise and the air pockets are out. This is my favorite part as I see the many filled jars!
FYI, the finished fermented sauerkraut can be kept at cellar temperature (around 55°F) for months, though those of us without cellars must make do with storing the kraut on an enclosed back porch, a unheated garage, or in the refrigerator.

So go ahead and be bold! I guarantee if you learn to make this gateway fermented food, you will be encouraged to do other things to lessen some of your dependence on outside sources.
Bon Appétit!

What’s the Salt Ratio For Making Sauerkraut?
***For the Full Spike Protein Protocol to protect from transmission from the “V” and to help those who took the “V”, go here.

Deep Roots At Home now has a PODCAST! We are covering everything from vaccines, parenting topics, alternative medicine. Head over today and like, share and download a few episodes!
I’d love to stay connected with you, and here is one way…

Censorship is real. My Pinterest account was suspended; but surprisingly part of my main board is still available through this link, and it scrolls down a long way!
You can also find me on Facebook, Gab, MeWe, X (Twitter), Instagram, and look for me on IG Stories.
And please join me for my FREE newsletter. Click here.

©2026 Deep Roots at Home • All Rights Reserved


Related